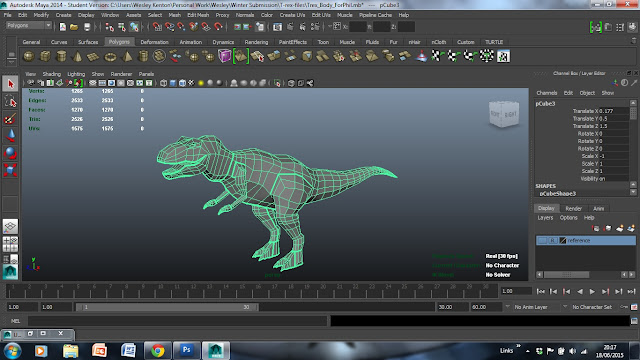
NOTE: Screenshots of the earlier stages in the models creation were lost due to technical difficulties.
I found that without reference, it was difficult to judge the width of the model, which lead to it appear much thinner than I would have liked. The tail also tapers to a weird point which could be solved by ending it with a face and a flat end rather than grouping the vertexes together.
 |
| Completed Claws |
 |
| Completed Feet |
 |
| Smoothed Model |
 |
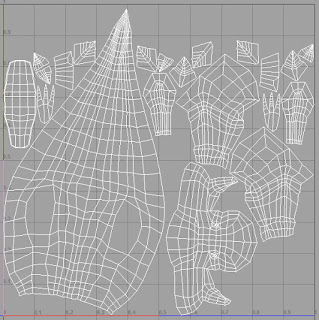
| Finished UV Map |
The UV mapping was difficult to get my head around due to the irregular shapes and the more finicky details. Since most of these problems came from trying to work with a whole model, I split back into two halves and created the new UVs, with the Automatic Mapping Tool and some minor adjustments to the edges and faces, particularly to the mouth and the hands.
 |
| Finished Model with a UV Edges Visible |
While the model still closely resembles the guidelines, I think that using a combination of straight and curved edges would improve it's appearance. I also felt that the hands seemed to flat in places and could have benefited from additional polys if not for the limit on the poly count.


